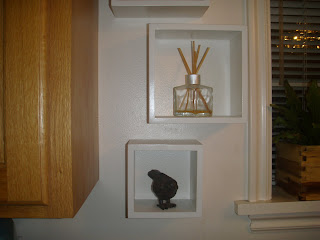
In between Summer and Fall semesters, I did a few projects
around the house.
In our kitchen, I took boring white "cubes" and turned them into this...
It was really easy... I haven't sat down to do a crafty project in a long time, so I had fun with it!
In case you were wondering how I did it, here is a crafty step-by-step...
1. pick your fabric.
We got ours at Ikea.. they have so many really cool fabric designs for cheap.
Plus, they sell it by the 1/4 yard (if you wish).
I only bough 1/4 yard of each pattern.
2. trace & cut
Choose the part of the fabric you want to show. Trace around the box with a pencil. This does NOT have to be perfect. You can always trim the edges off when you are done.
4. cut out a section for the brackets
Fit the fabric on the cube the way you want it, and make tiny cuts for the hanging brackets. This is a little tricky. Make sure you don't cut into the back part that is going to show!
5. glue your fabric on
I just used tacky glue.. I'm sure you could use a hot glue gun or another time of strong(ish) glue.
6. cut off the excess fabric.
...and you're done!
We have had these little cubes around for a while. I think they were originally in my room in jr. high/highschool. They fit perfectly on this small wall space, but they definitely needed a little something to spice them up!
before
after
p.s. you can find the blank cubes at most craft or home decor stores!


wow little miss crafty. I'm impressed and they are darling!
ReplyDeleteThis is so cute! I love what you did.
ReplyDeleteWay cute shelbs!
ReplyDeleteWhat a difference, good job lady!
ReplyDeleteP.S. I adoreee your blog header.
what a great idea!!
ReplyDelete